Guides / Quality
Laser Marking Machined Parts for Traceability: Codes, Depth and Timing
October 19, 2026
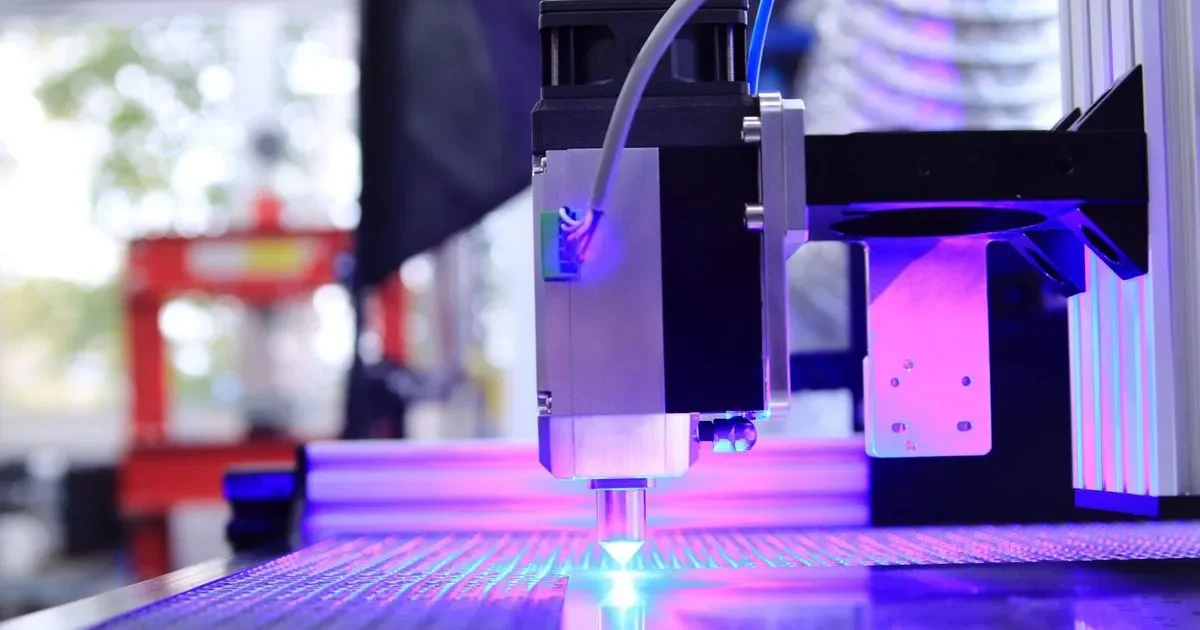
A serial number on a jig looks like a minor detail until a returned part has no way to prove which batch it came from. Laser marking solves that cheaply, if the mark is specified well. A badly specified mark can turn unreadable after anodizing, erode a stainless surface that was supposed to stay passive or fail to scan because the code was too small.
This guide covers what to specify on a drawing and where in the process the marking operation belongs.
Why laser, not stamping or etching
Mechanical stamping deforms the part and can create stress at the marked spot. On a hardened plate or a thin section it is not an option. Chemical and electrochemical etching works but needs stencils and a wet process. A laser marker needs no tooling, handles serial changes by software and leaves a consistent mark.
Most marking on machined parts uses a fiber laser, which works on metals and some coated surfaces. Other lasers handle plastics and ceramics.
Mark types
| Mark type | How it forms | Typical depth | Best on |
|---|---|---|---|
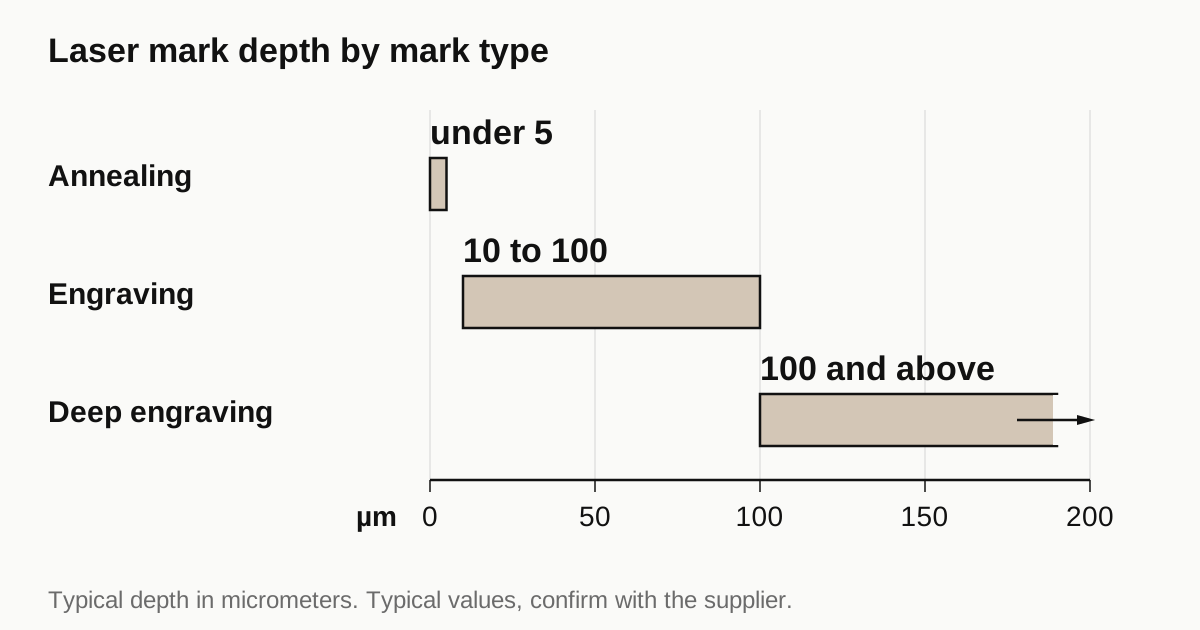
| Annealing | Heat creates an oxide layer, no material removed | Under 5 µm | Stainless steel, titanium |
| Engraving | Material vaporized | 10 to 100 µm | Steel, aluminum, brass |
| Deep engraving | Several passes | 100 µm and above | Parts that will be abraded or recoated |
| Coating removal | Dyed or plated layer ablated | Layer thickness | Black anodize, painted parts |
| Foaming or color change | Surface of plastic reacts | Almost none | Many plastics |
Values depend on laser power and settings. Treat them as typical.
Depth is the key parameter. A deep mark survives wear and cleaning but weakens a thin wall, traps contamination and can start corrosion on stainless. An annealed mark does neither, but it is only visible, not tactile, and can fade if the part is passivated or abraded.
Choose by material
Stainless steel. Annealing leaves the surface intact and keeps the corrosion resistance. Engraving breaks the passive layer at the mark, and a part used in a damp or chemical area may need a passivation step after marking. State the order.
Aluminum. Bare aluminum marks by light engraving with moderate contrast. Anodized aluminum marks well by ablating the dye layer, giving a bright mark on black. Marking before anodizing usually gives a faint mark, because the anodic layer covers it.
Tool steel and hardened steel. Engraving works at full hardness. A very deep mark on a stressed part can crack the surface, so keep the mark away from corners and loaded areas.
Brass and copper. Reflective and thermally conductive, which makes marking slower and lower in contrast. Fiber lasers still mark them, with settings that depend on the alloy.
Plastics. PEEK, POM and nylon mark by color change or foaming. Some high temperature plastics mark poorly, so ask for a trial.
Ceramics. Laser marking on alumina leaves a gray mark with some microcracking at depth. For parts that carry a load or insulate at voltage, ask for a light mark and a test.
2D codes and what makes them read
The common code on machined parts is a Data Matrix, usually ECC 200. It holds a serial number in a small area and tolerates damage better than a barcode. A code is only as good as its readability, and direct part marks are harder to read than printed labels because of surface texture and reflection.
Points that make or break a scan:
- Module size. Each square of the code is a module. A module of about 0.2 mm is workable, below 0.15 mm it gets difficult. A 14 by 14 code at 0.25 mm per module is about 3.5 mm square plus a quiet zone.
- Quiet zone. An empty margin around the code, typically at least one module wide. Do not mark closer to an edge.
- Surface. Marking on a ground or turned surface reads better than on a bead blasted one. On a reflective surface, a matte annealed mark reads better than an engraved one.
- Contrast. Dark on light or light on dark. Anodized black with a laser white mark gives the best contrast.
- Orientation and placement. On a flat face the operator can reach with a scanner. A code on a curved surface needs a larger module or a flat spot.
The quality of a direct part mark is graded under ISO/IEC 15415 for 2D symbols and guided for direct marking by ISO/IEC TR 29158. Ask the shop what grade it can achieve and how it checks. A mark graded C or better reads reliably on most scanners.
Where the mark goes
Mark on a feature that survives use. A face that gets ground, clamped or washed will lose its mark. The best location is a flat surface away from locating features, not under a fastener head and not in a zone that will be re-machined later.
Add the location to the drawing with a dimension to a datum. A note saying “mark serial number on a visible side” gets different results from every shop.
If the part is a plate that carries parts, mark the edge, not the top. Marks on top face wear from the parts and the cleaning.
Need a quote for this part? Get a quote
When to mark in the process
Marking is a late step, but not always the last one.
- Machine and heat treat
- Grind and finish
- Mark, for bare metal and stainless annealed marks
- Plate or anodize, unless marking removes a coating layer
- Mark after coating, for coating removal marks
- Final inspection and pack
The coating decides the order. See hard anodize or electropolish for how finishes affect the surface, and electroless nickel plating for what plating does to a marked surface. If the shop has to send the part out for finishing, ask whether marking happens before or after and who does it.
What the code carries
A code can be a random serial number or a structured one. Structured codes help when the plant has its own part system. A good pattern is a short, stable format: a part number, a revision and a serial. Keep it short to keep the module size large.
Agree on the format before the first batch. A 2D code that the plant’s scanner decodes into the wrong fields is not traceability. Ask the shop to send a sample photo and the decoded string before it marks the batch.
Traceability beyond the mark
A mark ties a part to a record. The record is what matters: the material certificate, the inspection report and the process record. For the certificate side, see mill test certificates from Vietnamese shops. For the inspection report that the mark points to, see first article inspection.
Decide what the code points to: a shop record, a plant database entry or both. If the shop keeps the record, ask how long it retains it and in what format. Without that, the code on the part opens nothing.
What to ask a shop
- Which laser and which marking software, and can it import your serial list?
- What mark depth and what contrast does the shop typically get on your material?
- Can it grade a Data Matrix, and to which standard?
- Does it mark before or after the finishing operation?
- Can it send photos of the first marked part with the decoded string?
- How does it prevent two parts getting the same serial number?
The last question separates a manual process from a controlled one. A serial list loaded into the marker and checked off is a different system from typing numbers into a screen.
Cleanliness and the mark
On parts that go into a cleanroom or onto a vacuum line, the mark itself has to be clean. Engraving can leave a small amount of debris and a recast edge, and a deep mark traps cleaning fluid. After marking, the part usually needs a wipe or an ultrasonic clean, and the cleaning step should come after the mark, not before. If the part follows a documented cleaning and packing routine, put the mark in the sequence ahead of that step. Cleanroom machining requirements describes what a documented route usually contains.
Checklist before you send the RFQ
- Mark content: serial format, part number, revision
- Code type and module size, or the human readable text height
- Location, with a dimension to a datum
- Mark type and depth range
- Order relative to coating or plating
- Required code grade, if the plant scanner is fussy
- A sample decode string for the shop to check against
Send it with the drawing through the RFQ form. We place it with a partner shop and send one itemised quote within 24 business hours.
Frequently asked questions
What is the difference between laser engraving and laser annealing?
Engraving removes material and leaves a mark with measurable depth, usually 10 to 100 µm. Annealing heats stainless steel so that a dark oxide layer forms with almost no depth. Annealing keeps the surface smooth and is usually the better choice on stainless parts that must stay clean or corrosion resistant.
Should the mark go on before or after anodizing or plating?
It depends on the effect wanted. Marking black anodized aluminum after anodizing removes the dyed layer and leaves a light, high contrast code. Marking before coating usually leaves a faint, low contrast mark because the coating covers it. For plated parts, marking after plating keeps the code readable but exposes the base metal at the mark.
Do I need a Data Matrix code or is a serial number enough?
A human readable serial number is enough for a few parts you track by hand. Once a plant tracks hundreds of fixtures or change parts in a system, a 2D code that a scanner reads is faster and removes transcription errors. Many plants put both on the same part.
Need a quote for this part?
Send the drawing. We quote the finished parts, place the work with a partner shop in Vietnam and reply within 24 business hours.
Get a quoteMore on quality
- Handling an OSAT Customer Complaint on Jigs: From Return to Closed Report
- How to Test ESD Fixture Materials on Receipt: Surface Resistance, Ground Path and the Record Sheet
- What a First Sample Must Prove to a New Semiconductor Customer
- Why Jigs and Fixtures Fail on the Line: Warpage, Wear, Loosening and Contamination
All guides and the sourcing glossary.